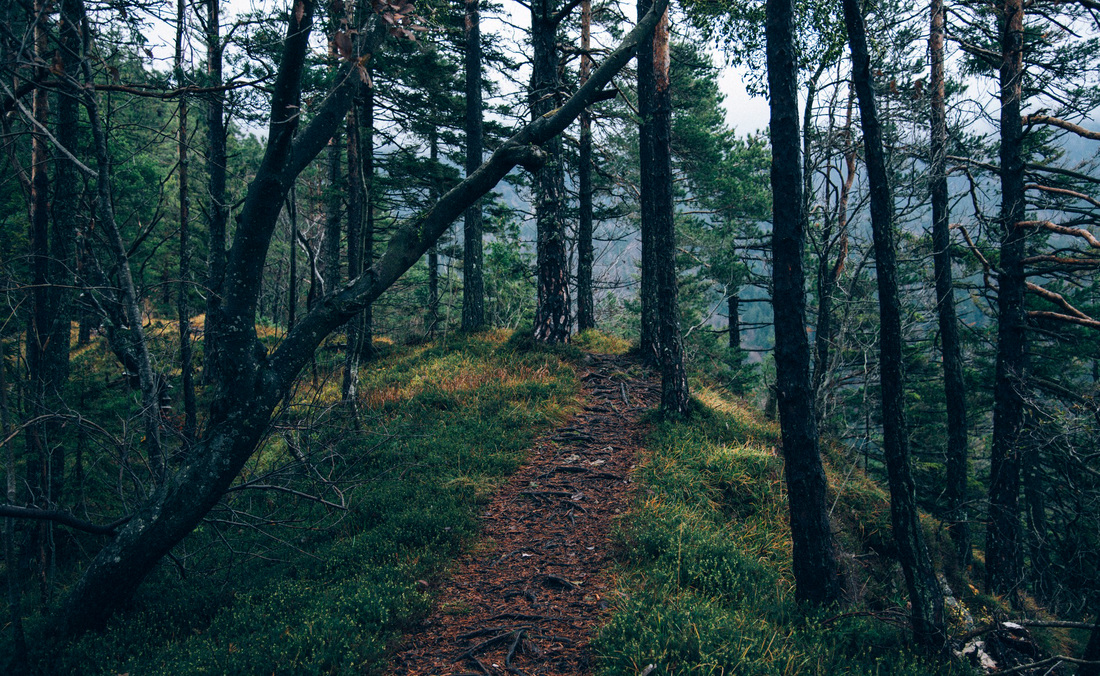
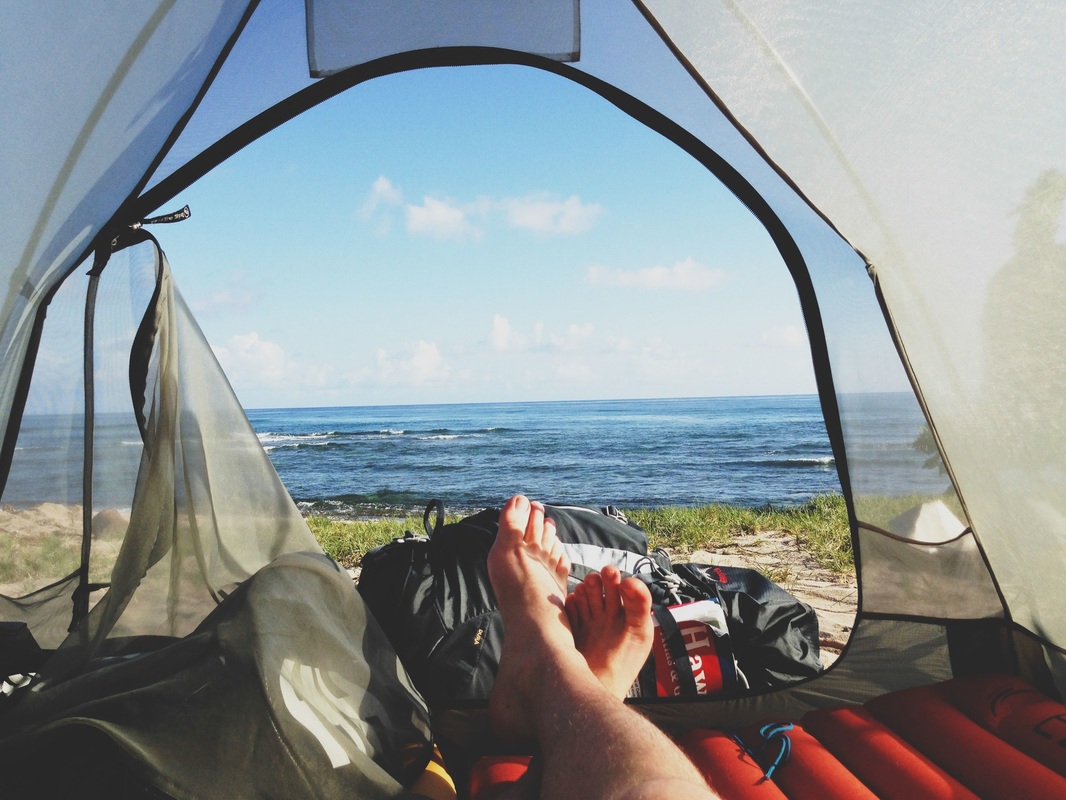
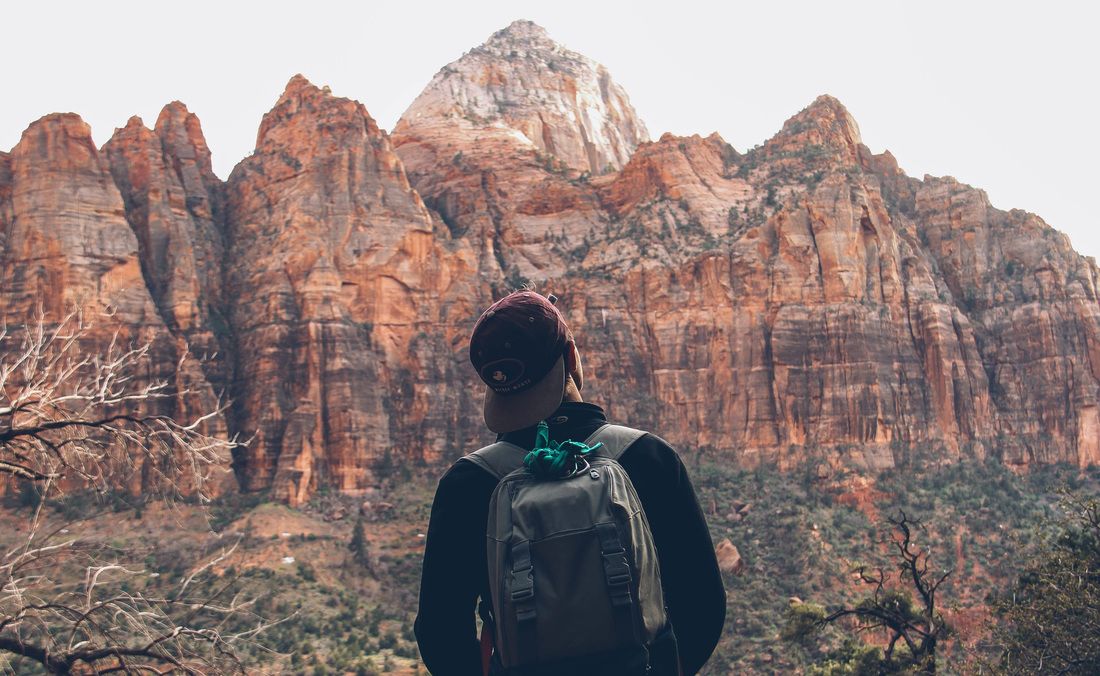
I'm James. This is my year of travel.

Same model without and with the contour texture. Textures on this material node with sync enabled will be scaled, moved, and/or adjusted concurrently. Interior Edge Contour: When enabled interior angles will be shown, where and amount of interior edges that are shown is determined by the Contour Angle.Ĭontour Width in Pixels: When enabled the Contour Width will be set in pixels, otherwise it will be set in the current scene unit. If the materials are linked, this setting will not have an effect. Material Contour: This will allow you to show or hide the contour line that separates the individual parts, that does have the same material. This will only have effect if Interior Edge Contour is enabled below.Ĭontour Quality: Increasing the Contour Quality yield a sharper line. A lower value will increase the number of interior contour lines and a higher value will decrease the number of interior contour lines. The value determines the angle of the curvature where contour lines will appear. Part Contour Multiplier: Enabling the Part Contour Multiplier will intensify the contour in the intersection between parts (with the material applied).Ĭontour Angle: This will control the number of interior contour lines on the part. Exposed Headless Scripting Functionality.Best Practices for 3MF Export for 3D Printing.Best Practices for Sharing and Embedding USDz and GLB Files.License Server Installation (PC) - Custom.In the Real-time view the image quality will slowly improve (res-up). You find the Render dialog on the KeyShot Toolbar or in the Main Menu > Render > Render Screenshot. Client Error: Unsupported KeyShot Version The following pages will take you through the Render Output, Render Options and the Render Queue.Server Error: Invalid Mac Address (HostID).This will also increase the KeyShotXR file size.Įnabling this option will set the KeyShotXR to only load the images into the browser after the user interacts with the KeyShotXR . This is separate from the viewport resolution setting for each frame. The image quality will be preserved when zooming in by enlarging the rendered frame resolution accordingly. Note: To ensure the browser page will scroll when the mouse scroll wheel is used while over the KeyShotXR, this option will need to be disabled.Įnable this option to render the frames at larger resolution for optimal image quality when zooming in. Use the “Maximum Allowed Zoom-In Percent” slider to control the amount the user can zoom in your KeyShotXR. With KeyShot, you have a lot of options for image or animation output, including three different render modes. Increasing this value will increase the model movement with less mouse movement.Įnabling zoom-in will allow you to zoom into the KeyShotXR when inside the browser. Tips All About KeyShot Render Options You've got your materials set, cameras positioned and an environment that reflects the sheer intensity of the surrounding lights. This controls the overall mouse sensitivity in the KeyShotXR . Increasing this value will reduce the time it takes a model to come to a rest after rotating it. This menu controls how your KeyShotXR interacts in the web browser. This value will change depending on the number of vertical and horizontal frames and the starting and ending angles.Īdvanced settings for KeyShotXR are located in a drop-down menu on the same window as the custom settings. This shows the degrees between each frame. This shows the number of images to render based on the number of horizontal and vertical frames. The higher the number of frames the more smoothly your model will rotate. This controls the number of frames in the “Y” direction. The higher the number of frames, the more smoothly your model will rotate. This controls the number of frames in the “X” direction. See previous page for animation frames settings. Additional parameters will be shown if enabled. If animation is applied to the scene, you will be able to create a KeyShotXR from this animation. This option allows you to select the center of rotation from your scene tree items.Įnable this option to have the environment rotate with the KeyShotXR. 69.9K subscribers Subscribe 608 Share Save Description 66K views 5 years ago Learn simple, fast methods for optimizing and improving your scene setup and renders across various types of KeyShot. Use your current “Look At” as your rotation center. Use the current camera settings to use as your rotation center. Select an object in the scene as a center of rotation. This option will set the center of rotation at the center of the scene. Client Error: Unsupported KeyShot Version.
0 Comments
Leave a Reply. |
AuthorWrite something about yourself. No need to be fancy, just an overview. ArchivesCategories |
 RSS Feed
